


If you run an online business or write a brand blog, knowing how to optimize your images is an important part of improving your website’s performance.
A picture is worth a thousand words, as the adage goes, and people love visuals. Especially with waning attention spans, visuals are an effective way to communicate a brand’s message. And they make your content more memorable and compelling.
The downside to visuals, however, is that they can significantly slow your loading time, making customers and leads more likely to leave your site without taking action. So if you want to make your visuals work for you—not against you—you need to optimize your images to keep your site’s performance in tip-top shape.
How To Optimize Your Visual Content
1. Compress Images Without Sacrificing Quality
Compressing your images’ size is useful because smaller image files load faster, as less information is being transferred from the Internet or local disk. There are two tools you can use to accomplish this:
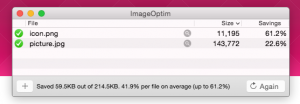
1. ImageOptim for OS X – “Removes bloated metadata. Saves disk space and bandwidth by compressing images without losing quality.”
2. File Optimizer for Windows or Linux – “Keeps the behavior of the file untouched, but with its size reduced thanks to several re-compression and optimization techniques.”
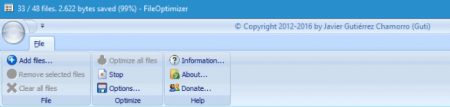
All you have to do is drag and drop your image folder into either of these applications and then let it do the rest of the work. The post-optimized images will look exactly the same as the originals. Internally, however, their size will have shrunk, thus leading to better site performance.
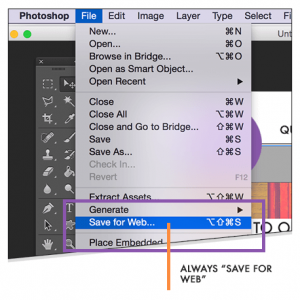
Alternatively, if you use Adobe Photoshop, you can choose the “Save for web” command to adjust your image size, making it as small as possible while still maintaining the image’s quality.
2. Choose The Right File Type
Brenda Barron on Kinsta.com: “Before you start modifying your images, make sure you’ve chosen the best file type. There are several types of files you can use:
- PNG – produces higher quality images, but also has a larger file size. It only uses lossless compression.
- JPEG – uses lossy and lossless optimization. You can adjust the quality level for a good balance of quality and file size.
- GIF – only uses 256 colors. It’s the best choice for animated images. It only uses lossless compression.
There are several others, such as JPEG XR and WebP, but they’re not universally supported by all browsers. Ideally you should use JPEG (or JPG) for images with lots of color and PNG for simple images.”
3. Present Your Product Images From Multiple Angles
When it comes to ecommerce, you want to provide you customers with a hesitation- and question-free shopping experience (as much as you can). Therefore, it’s useful to present product images from a variety of angles (front, back, inside, outside, zoomed in, etc.). At the same time, though, don’t go overboard. Each image should have a purpose.
To further optimize your extra images, add unique descriptors to each shot’s alt tag. This may necessitate extra work for you, but the extra effort will pay off by way of extra targeted traffic to your site.
The Best Plugins For Image Optimization
Below, you’ll find a list of the top four plugins you can add to your WordPress site that will automatically optimize your images when you upload them, meaning less grunt work for you.
Some of the plugins are free and others come with both free and premium versions.
What do you think about these image optimization tips to improve your site’s performance? Do you have any other advice that you can share?